Overview- Aurora HDR 2022
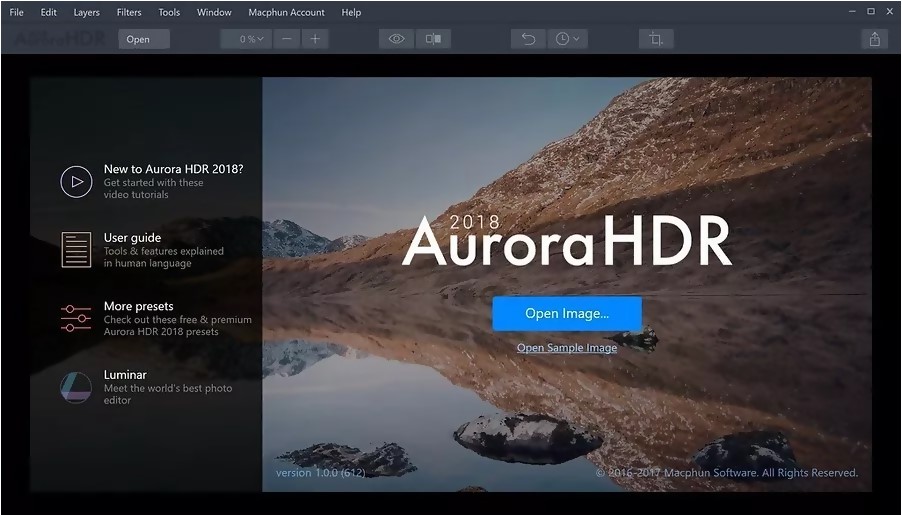
The most recent version of HDR photo editing application is Aurora HDR 2022. This application was designed by Skylum, formerly called Macphun. Skylum is a company that specializes in designing photo-centric applications. Aurora HDR 2022 can be installed as a standalone App or in the form of a Lightroom plug-in and Photoshop. The major feature of Aurora HDR 2022 is the ability to automatically import and merge many exposures into a single HDR image. With Aurora HDR, you can fine-tune the result with the use of tone-mapping tools and HDR.
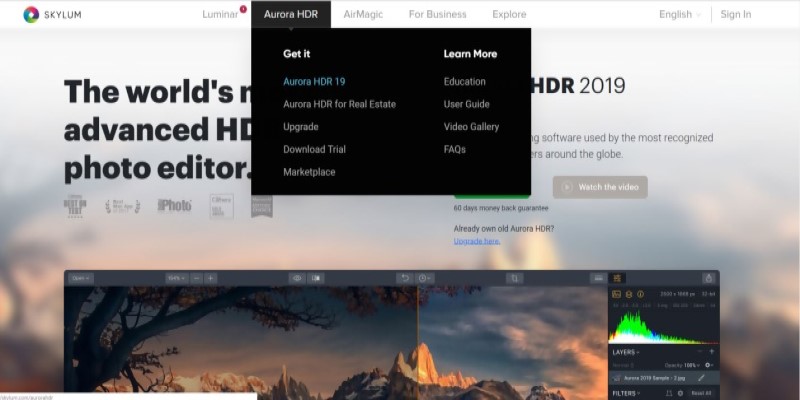
**Official website: https://skylum.com/aurorahdr
HDR is specialized in exposing details in the shadows and highlights of an image. Aurora HDR 2022 features a new Quantum HDR engine with artificial intelligence-based tone mapping technology. With these, your photo merging gives natural results. The new HDR engine helps in tone mapping and aligning your images as well as any camera movement between your bracketed images. This application supports Photoshop plug-ins such as Nik Collection and Imagenomic. Aurora HDR prevents artificial ghosting and lighting, makes a correction to colors, reduces noise, and boosts contracts. What exactly does HDR mean? HDR (High Dynamic Range) simply means a composite image made out of several images with various exposure values. HDR photography is a good application for photographers. You will surely enjoy the transformation it does to images; it helps you appreciate your image. When I ran the new Aurora 2022, I was welcomed by a short tour that took time to introduce to me to the major improvements in the latest version.
Pros and Cons of Aurora HDR
Aurora HDR comes with different features to fulfill users’ needs. However, it also comes with a few issues. The following gives you the pros and cons of this software.
What do I like about Aurora HDR?
User-friendly Interface:
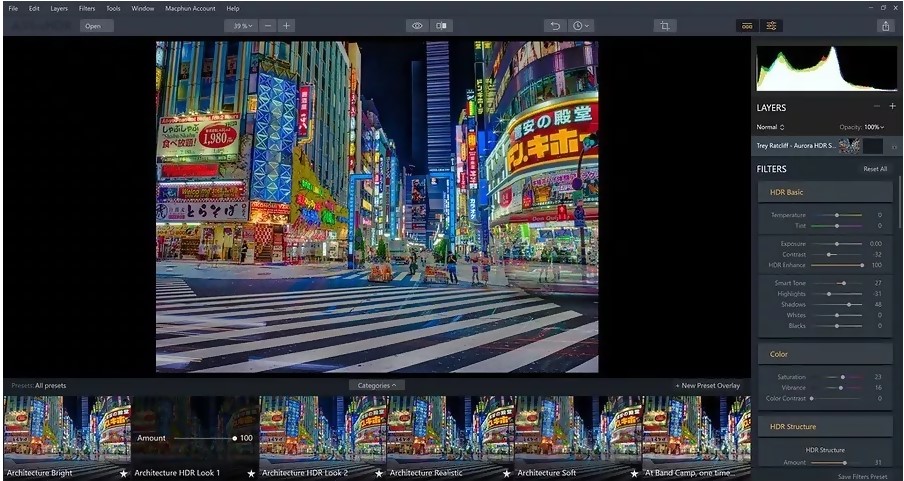
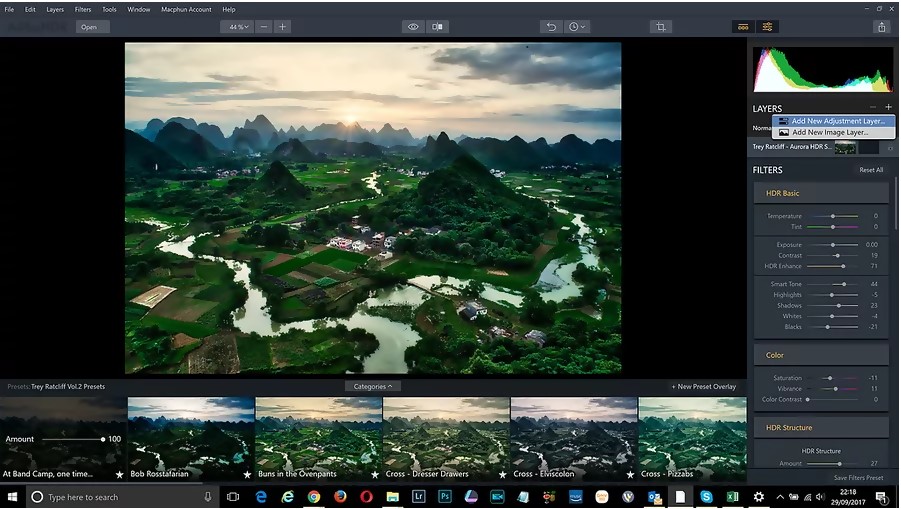
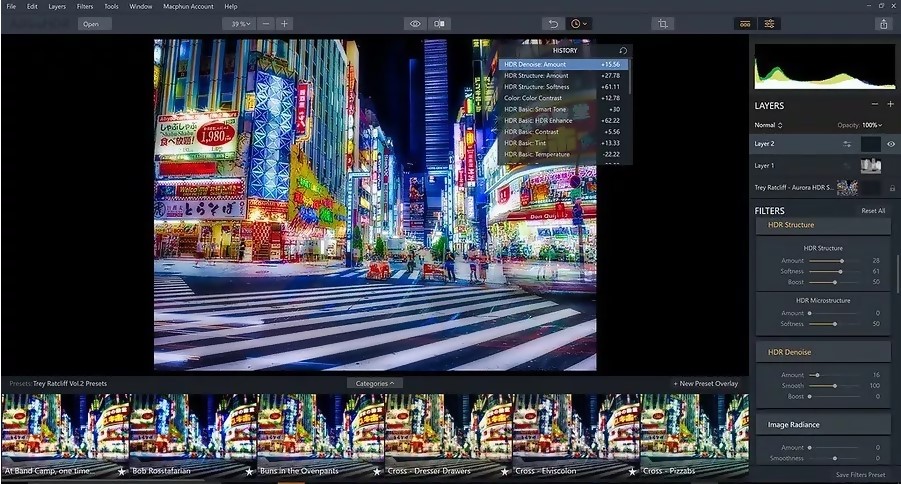
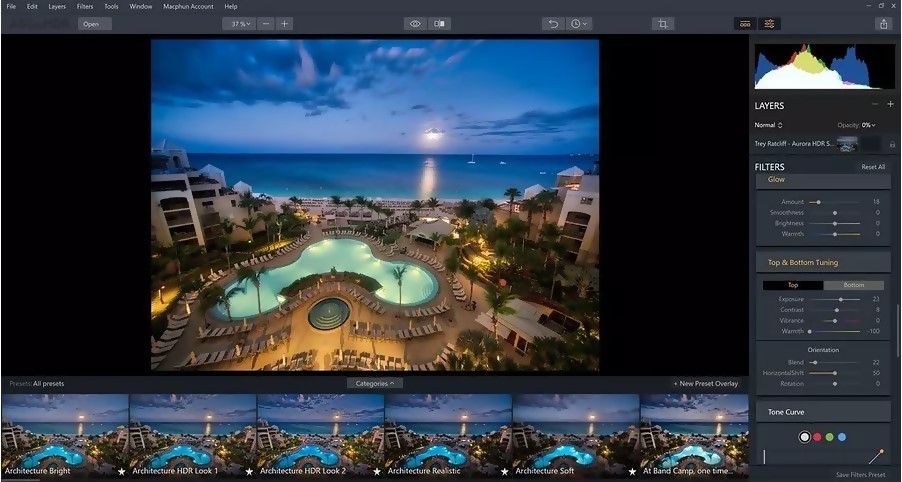
Aurora HDR has got a very nice interface that makes work easier for users. When working with Aurora HDR, users can access controls from three basic areas. These areas are the Top Toolbar, Side Panel, and the Aurora HDR Looks Panel. The Zoom Button helps you to have a closer and farther view of your image, with this button; you can Zoom in, Zoom out and Zoom level. Zoom out helps to reduce the size of the displayed image, Zoom in increases the viewed side of the displayed image, while Zoom level helps you select Fit to screen, so as to view the entire image at once. Comparison Buttons helps users to compare the original default image with the enhanced image. With this Button, you can view the original image which will be displayed on the left and the enhanced image displayed on the right, you can then compare the pictures and see the differences. The History Button allows you to view the history of an image. The Undo button can help you revert an image to an earlier stage. The Export Button enables users to export images from the application and save as a graphic file. You can share this image with other editing softwares developed by Skylum or share through email. The Side Panel Buttons are located at the right side of the displayed image, this panel buttons include Histogram, Filters, and Layers. Histogram is a tool for evaluating details and exposure, Filters allow users to have control over each filter applied to a layer, while Layers enable users work with many objects to design a composite image. A histogram graphically represents the tonal values of images. This graph shows how the distributions of pixels in the image are achieved across brightness levels. Images that are well balanced will have tonal values across the whole range of the histogram. The Histogram can show Green, Red, and Blue channels separately or show all at once. Layers are powerful tools that can help you build up images with various enhancements and utilization of blending modes and masks on each layer. With layers, you can correct or enhance on various layers until you have got what exactly you want your image to look like. Filters enable you to adjust contrast, exposure, style, and color of your image. When filters are properly used, you can improve your image significantly. Each filter is created to enhance an image in a specific way. There are 15 control groups in the filter section, which include HDR enhance, Color, Image Radiance, HDR Basic, LUT Mapping, HDR Denoise, HSL, Glow, Vignette, Polarizing Filter, Dodge & Burn, Adjustable Gradient, Tone Curve, Color Toning, and HDR Detail Boost. With these control groups, you can have an amazing image. This panel contains all the Aurora HDR Looks available in Aurora HDR 2022. You can apply these Aurora HDR looks to a new Adjustment layer or any open image. To apply a Look, click on its thumbnail.
Easy Photo Import
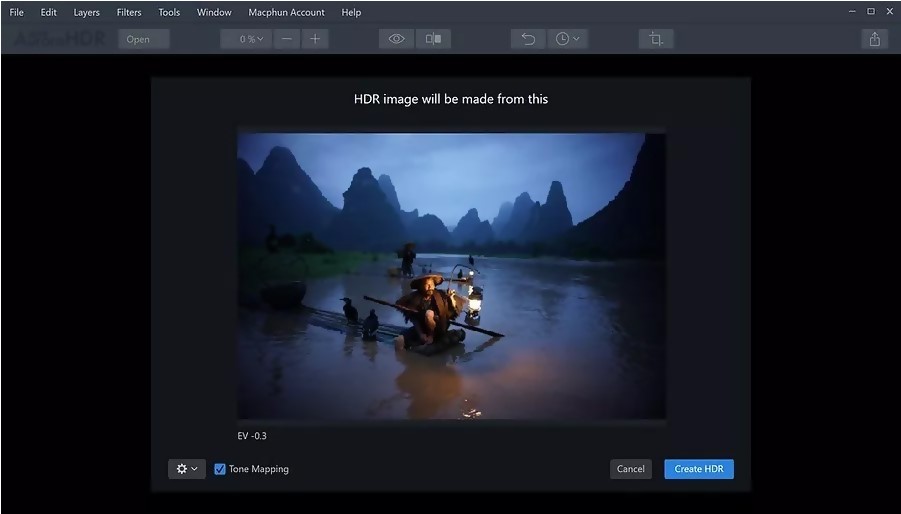
In Aurora HDR 2022, to import photos, you can use the shortcut keys Cmd+O (MAC) or Ctrl+O (PC). Aurora HDR has no built-in image organization or cataloging features. The native file explorer for browsing and loading images into Aurora HDR is used. Although Aurora HDR is a photo editing application, it is not meant for a full-featured photo application. Select the desired image for HDR processing and load the corresponding exposures, you will see a screen containing a thumbnail preview of the bracketed images.
Special effects to Images- Presets
In Aurora HDR 2022, Presets are called “Aurora HDR Looks.” Aurora HDR looks enables users to make some changes to their HDR image with just one click. Each Aurora HDR Looks consist of all the saved filters as well as the settings utilized for each of those filters.
Discovering and Creating Layers
Layers can consist of textures, adjustments, and photos. There are lots of ways to discover and create layers in Aurora HDR. Make sure you double-click on each layer’s name and give it a descriptive name to make workflow easier for you. At times layers can be invisible; therefore you need to discover them.
Non destructive Editing -History Panel
The History panel in aurora HDR 2022 displays all the edits you have made on your image. With the history panel, you can get back to the earlier state of your photo. The new History Panel in Aurora HDR offers users with non-destructive editing. You can easily dive into various combinations and styles, as well as backup and explore other paths in your image.
Special HDR Filters
The Aurora HDR filers play similar functions adjustment does in Lightroom. They are advanced tools meant for color enhancement and detail. Below are the HDR Filters: All the basic adjustment tools are included in the HDR Basic Filter. It is similar to those found in Adobe Camera Raw (ACR) plug-in for Photoshop. With the HDR Basic Filter, you can adjust Exposure, Contrast, Shadows, and Highlights. HDR Enhance Filter is used for increasing the sharpness of an image; I use HDR Enhance for designing that classic HDR look. It has different sliders, this includes HDR Smart Structure, HDR Microstructure, and HDR Clarity. HDR Smart Structure sharpens details and increases local contrast and as well brings out hidden details in images. HDR Microstructure shows more detail and texture in the micro-level. The HDR clarity attempts to increase the entire contrast of the image without losing details in highlights and shadows. With Aurora HDR, users are already provided with lots of controls in terms of detail enhancement. HDR Details Boost offers separate sliders for Large, Medium, and Small details. The Quantum HDR Engine also works at the same time, allowing you to enhance details without having to add too much noise or halos. There are two additional sliders which are Masking and Protection; these sliders help to preserve image quality.
Cost (Is it cheap or expensive?)
Aurora HDR is affordable for users. For existing users that would like to upgrade, upgrade costs $49. For new users, Aurora HDR costs $89.
Key Features of Aurora HDR
Aurora HDR 2022 has some great features which have made it a very useful application for photographers. I love these features a lot, they make your work beautiful and amazing. For instance, I love the Batch processing which helps to detect brackets automatically and the detailed enhancement that increases drama in photos. Another feature I love is the Luminosity masking that merges layers. These features are very great. Oh! I do love the user interface, it is very modern and user friendly.
New Features in Aurora HDR 2022
The Aurora HDR 2022 has newly improved features. These improvements include:
Installation Guide
System Requirements:
For Mac, you need processor intel 64-bit Core, Memory 8 Gb RAM or more, and Hard Disk 2 GB free space. For windows, it is supported by windows 7, windows 8.1, windows 10, you need Memory 8 Gb RAM, and Hard disk 2 Gb free space. You need internet connection in order to run some program updates.
Setting up the Aurora HDR:
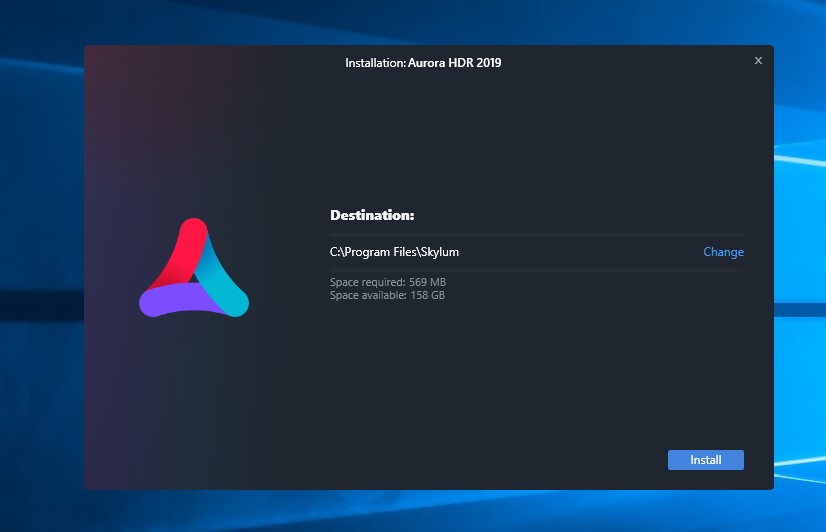
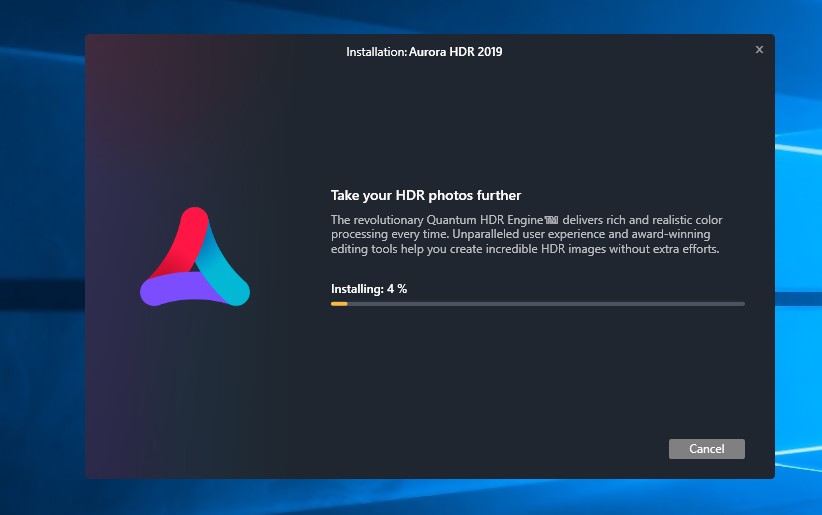
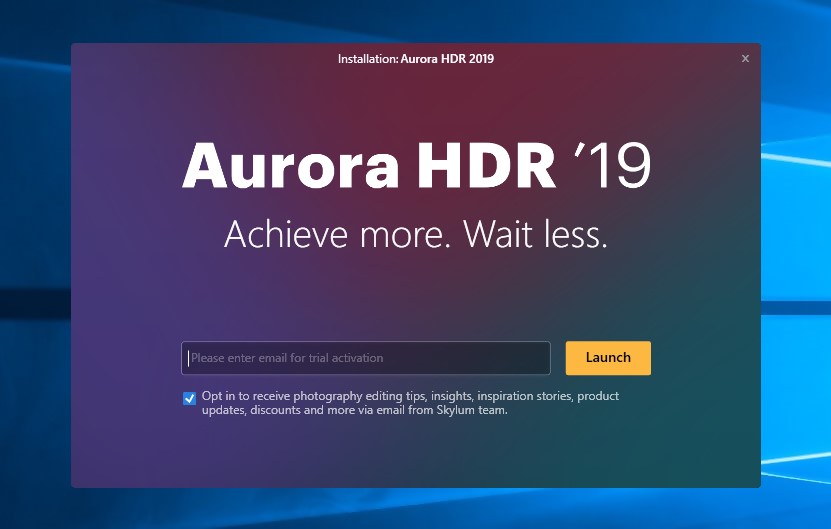
Step 1: Visit https://skylum.com/aurorahdr and then download the software
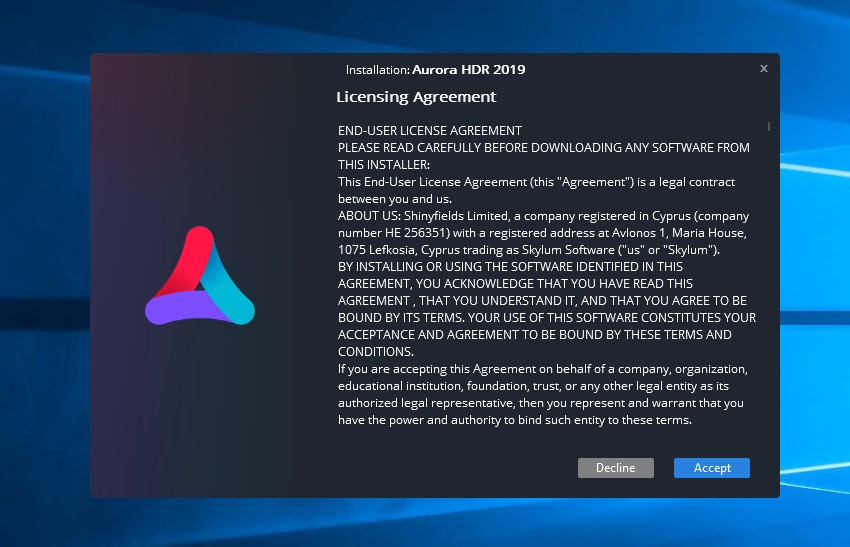
Step 2: After the download, double click the software to start Step 3: Choose setup location and Click install Step 4: Wait for setup to complete Step 5: After the set up is completed, Import your email address to Trail Activation and then click “Launch”
Do We Recommend?
I cannot underestimate the amazing features of Aurora HDR 2022. I like this application because it is good for both amateur and professional photographers. Aurora HDR 2022 is the first HDR application that allows you to edit your images in various ways. This photo editing application gives you room to capture and process an image exactly the way you see it. Another thing I like about this app is that an amateur photographer can find it easy to work with. I really express my love for the Aurora HDR’s interface; I realized it is more user-friendly than Adobe Software.
Submit your own review
